How to
Schedule Meetings in Lotus Notes?
In today's technical world schedule a Meeting, Appointment, Events and other curricular activities can be done Online with the versatile email clients like Lotus Notes or Outlook. In this segment we will learn how to schedule meetings in Lotus Notes.
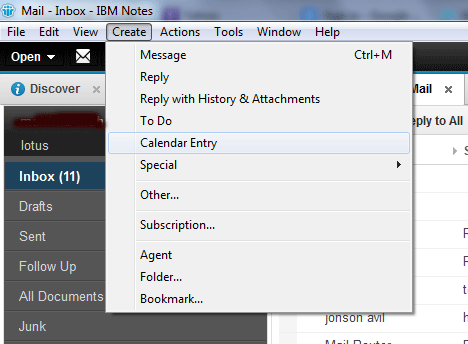
- First of all launch the Lotus Notes and the Go to Create menu bar and then select the Calendar Entry.
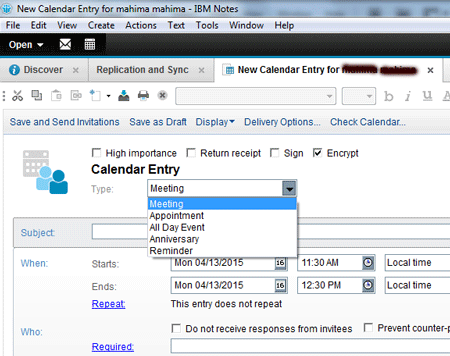
- In the Calendar Entry choose the type which you want arrange here admin select the Meeting as mentioned picture says.
- Now fill the subject of Meeting and in the right panel of Calendar entry you will see the column of Mark Private, Notify Me and Mark Available. The meanings are discussed below.
- Mark Private: You can mark this to reserve the information about meeting
- Notify Me: have some notes to remind you before the meeting
- Mark Available: mark it, if you want others can see you available at the given time slot.
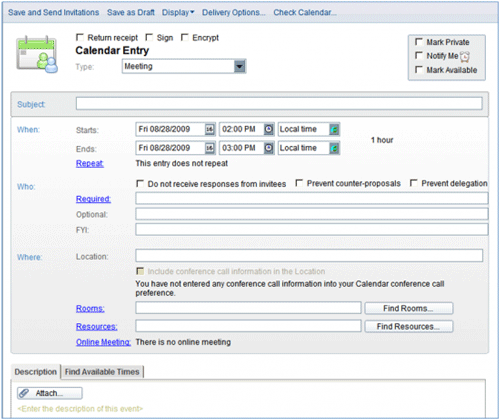
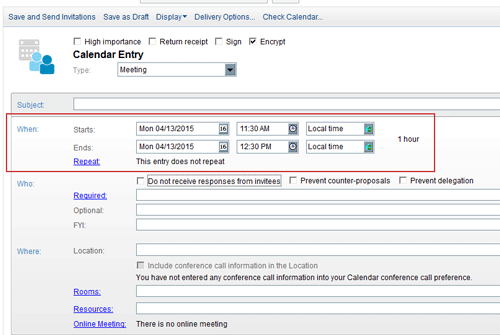
- Now came to the main course to fill the entry of meetings like When, Who and Where the meeting is going to be held. When: it relates to the time of Meeting scheduled. It includes the following list of options
- Start: Specify the time of starting the meeting
- Ends: Specify the duration of meeting or time when the meeting will be end.
- Repeat: In this fragment if you want that meeting is going to be repeat everyday then click on it and fill the required entries.
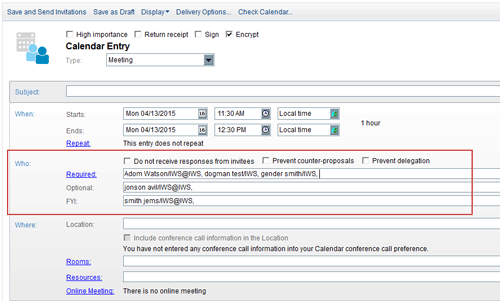
- Now it's time to invite the candidates to attend the meeting this could be done by filling the entries in the Who section. It includes the following prerequisites.
- Required: enter the name or email of the invitee or just click over it you will reach at your Address Book and then select the attendees.
- Optional: behaves as a CC of the mail.
- FYI: represent as a BCC of email in which enter the name of people to inform about the meeting.
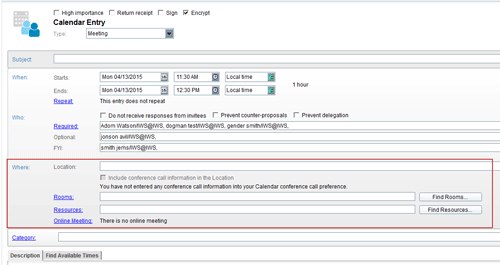
- Where: It is used to specify the location of Meeting where it is going to be held. It include the following option as mentioned picture says.
- Rooms: simply click over this field and reserve the room to fix the meeting.
- Resources: by clicking over it you will reach at the directory of IBM Notes to apply for the needed resources.
- Online Meeting: if the Admin want to attend the online meeting at the same time then he can do so by clicking over it.
- If you want to attach any file or want to see available times of candidate that they can attend meeting or not then they can see through:
- Description: user can attach any desired file with the meeting invitation.
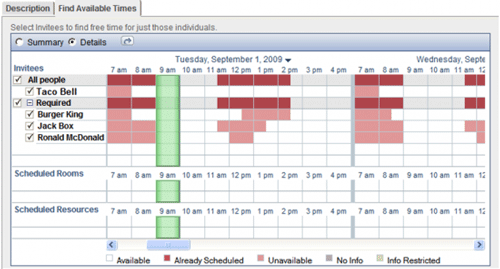
- Find Available Times: by clicking over it you will reach at the directory of IBM Notes to apply for the needed resources.
- Green: If the time slot of meeting matches with available time of all candidate then graph turns to green
- White: block shows the availability of candidate.
- Red & Pink: shows that candidate should not be available in the desired time.
- Grey:It defines that there is no information of the invitee in required time slot.
- Light Greyish: It indicates that there is restrictions are applied on information so can't be displayed.
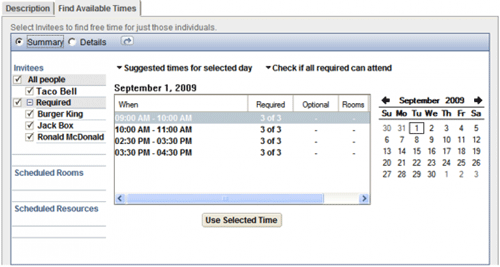
- Summary View: it is used to decide the parameter where you can maximize the % of attendance.
- After sending the invitation of meeting to the entire desired client then can respond back like
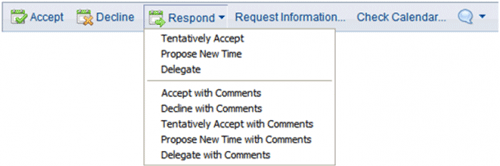
- Accept: simply accept without any comment to respond faster.
- Decline: decline the meeting without comment.
- Respond button: This option provides you many ways to respond back like below picture.