How to
Create rules in lotus notes 9?
A rule is created to handle incoming messages in Lotus Notes. Sometimes, it is required to restrict some messages, it is possible by putting some constraints on them. Lotus Notes mail rule is one such feature in Notes that can help in the filtering of emails received.
Follow below steps:
- Open Lotus Notes 9. A window will appear. Click on Mail.
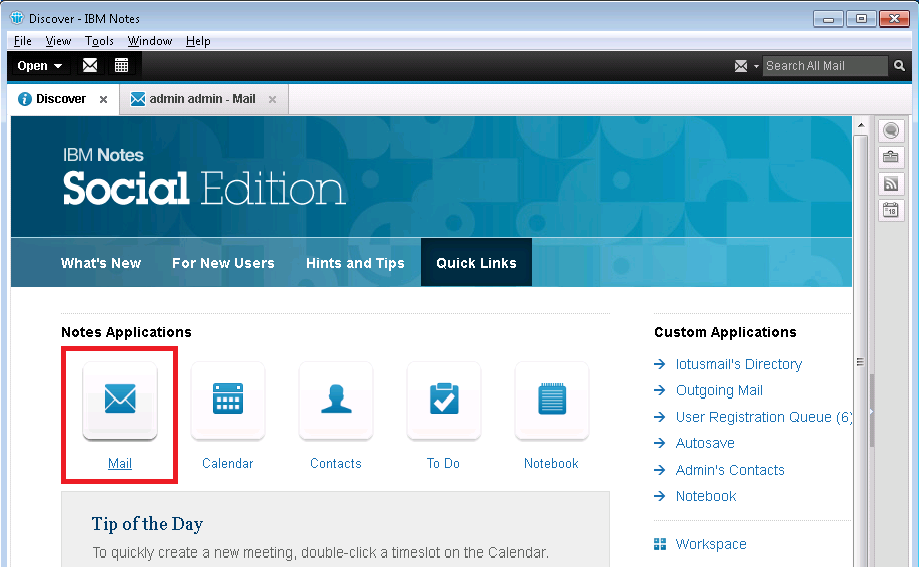
- Now user can see his mailbox.
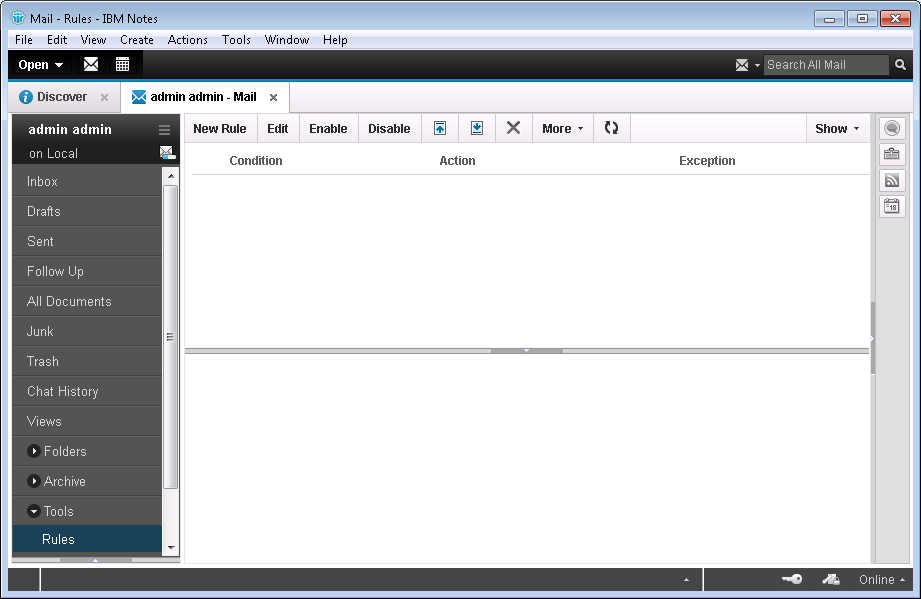
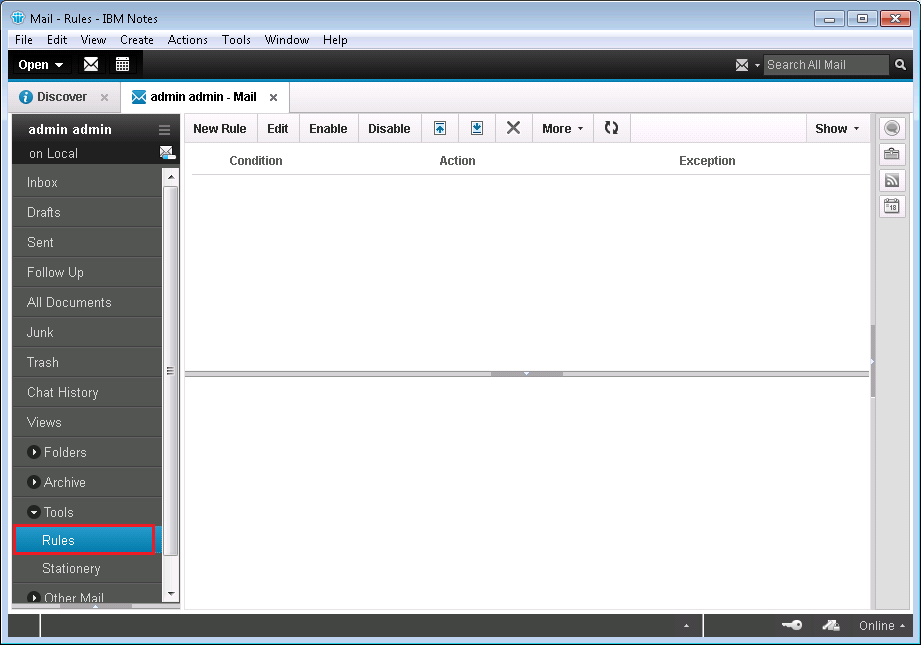
- Click on Rules in the left pane of the window.
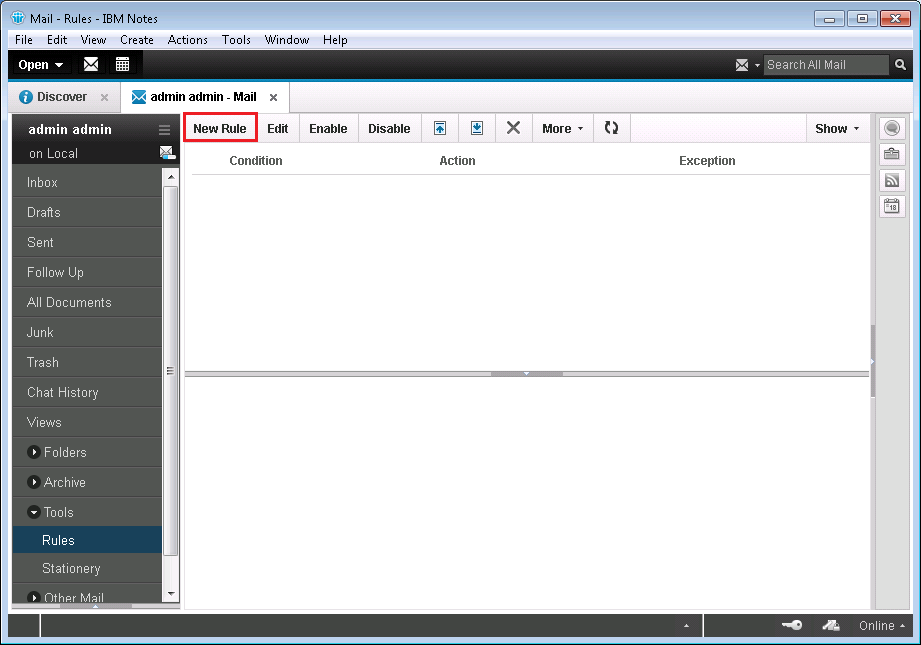
- Then click on New Rule as shown.
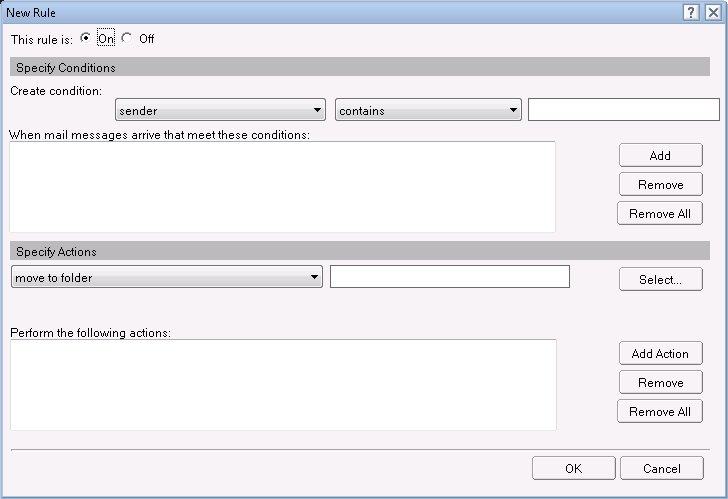
- You will see New Rule Window.
-
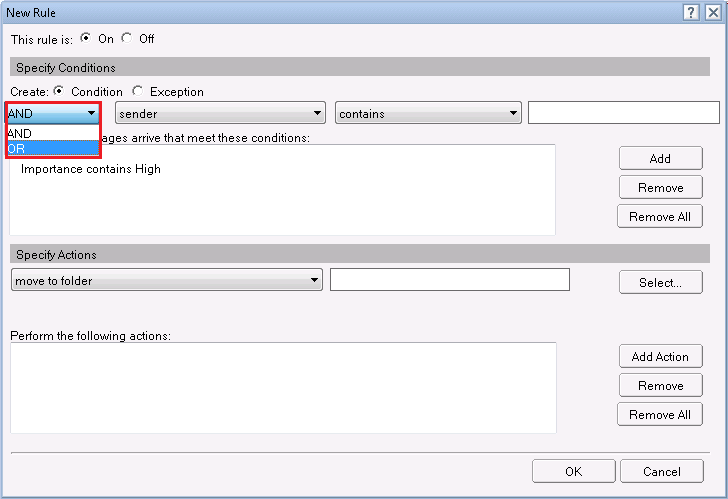
You can specify rule conditions having three fields. In the first field, there are options like:
- Sender: To select the name of the person of whom you want to receive emails.
- Subject: To filter the emails by the Subject name like Home Loans.
- Body: To filter email messages with a certain word or phrase in the body of the message.
- Importance: To choose emails on the basis of its importance and you can also set another attribute i.e. (high/medium/low) importance.
- Delivery Priority: Select messages based on the priority. Again there are three levels: high, medium and low.
- Internet Domain: To filter emails from specific company or domain.
- Size: To get email messages of a particular size.
- All documents: To apply the rule for all emails.
There are other conditions also to select particular email messages and to apply filters to them.

-
Second specific condition field for comparison purpose. All fields are inter-related and a user has to select option accordingly.
- Contains
- Does not contain
- Is
- Is not
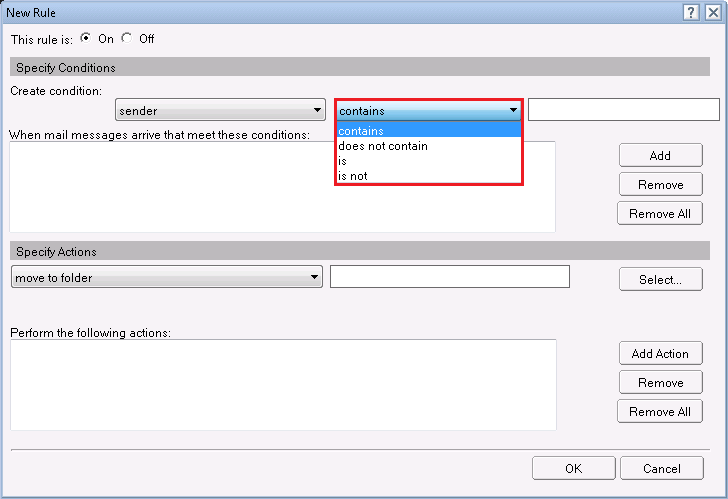
- The third specific condition is based on the first one. You can enter the name of the person, subject name, etc as per the constraints in field 1.
- It is another field to join two or more conditions together by OR or AND.
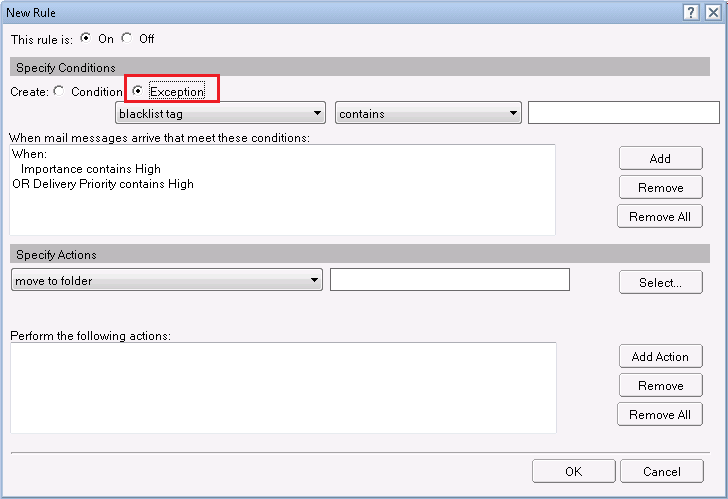
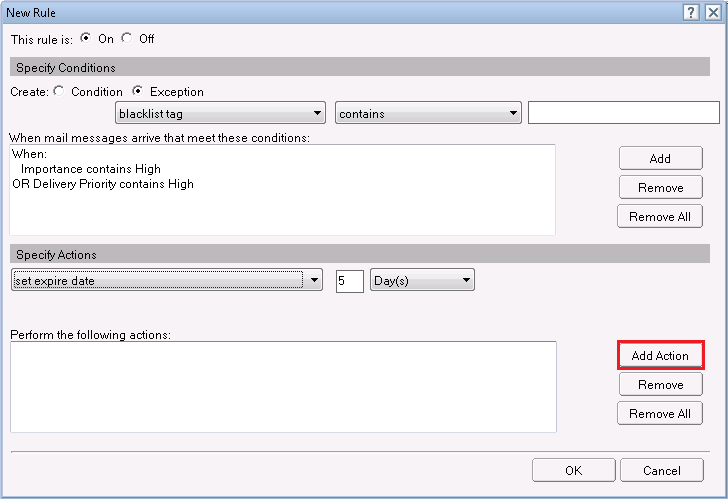
- You can also create exceptions by clicking on this radio button as shown.
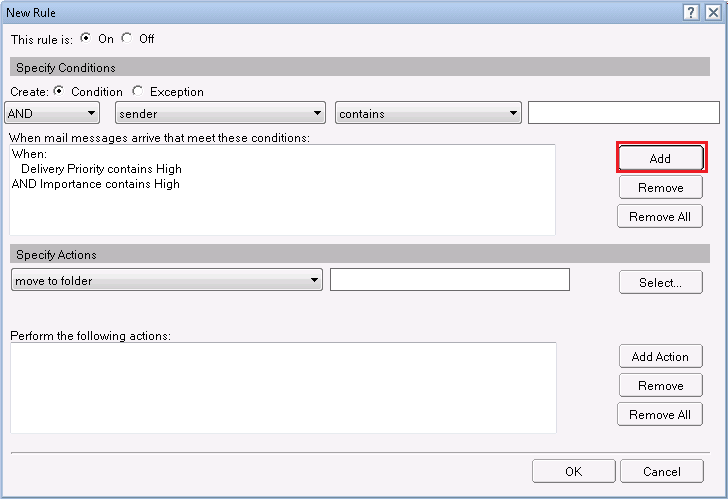
- After selecting the filter option, click on Add and you will see that constraints will appear in the box.
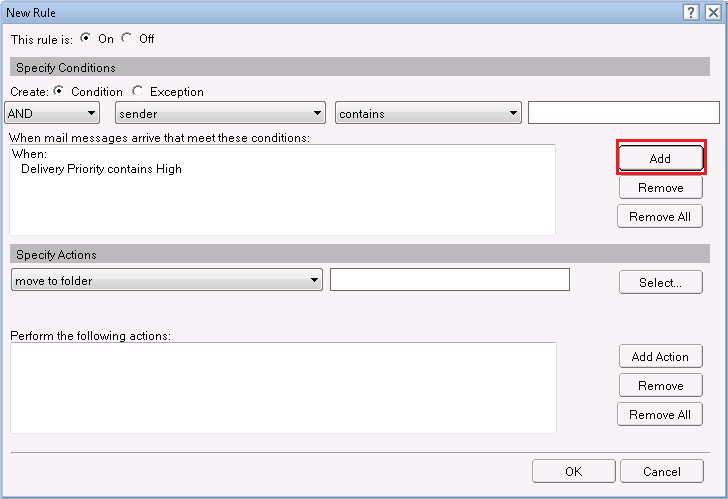
- There are two conditions Delivery Priority and Importance specified together and are added using Add button.
-
Now there are specific Rule Actions for the selected email messages as shown.
- Move to folder: To move filtered email messages to the folder.
- Copy to folder: It copies all the selected emails into certain folder.
- Send copy to: It will automatically forward that to someone else you have selected.
- Set expire date: Email message will automatically after the marked date.
- Change importance to: It will change the message’s importance.
- Delete: To remove the message.
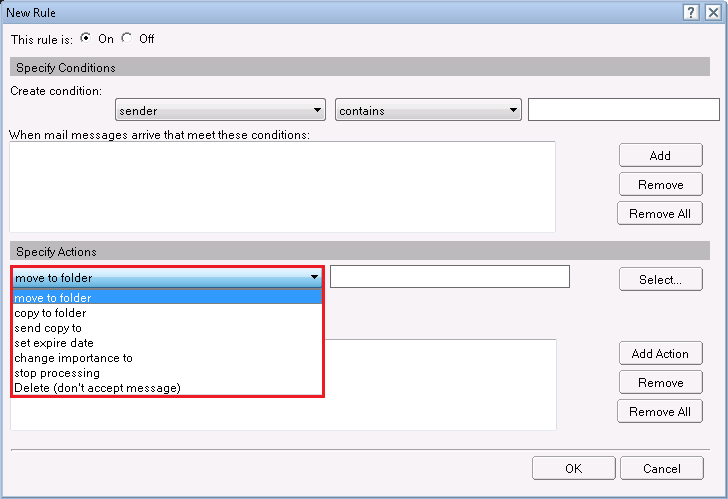
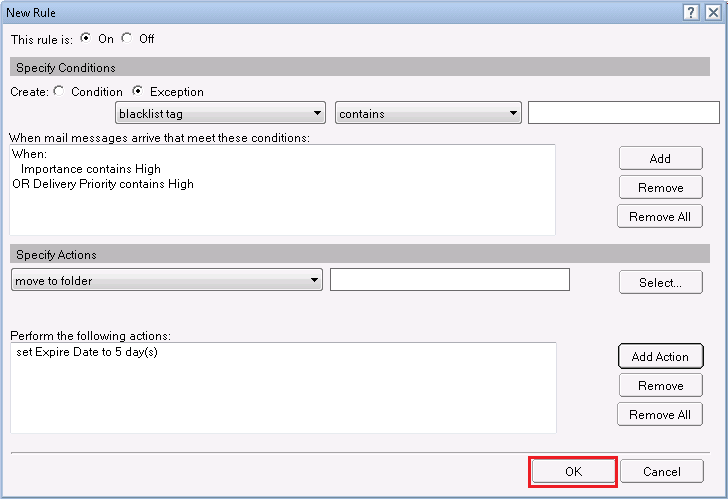
- After selecting the option as shown click on Add Action button.
- Now you can see action is added in the box. Now click on Ok button.
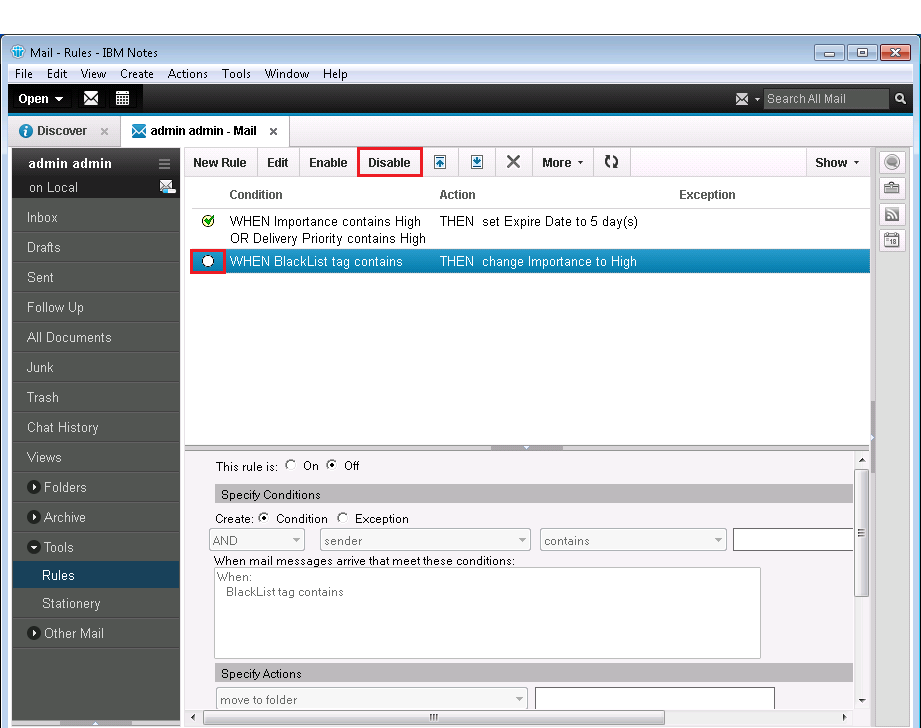
- A new rule is created. By default, the email rule filter is enabled.
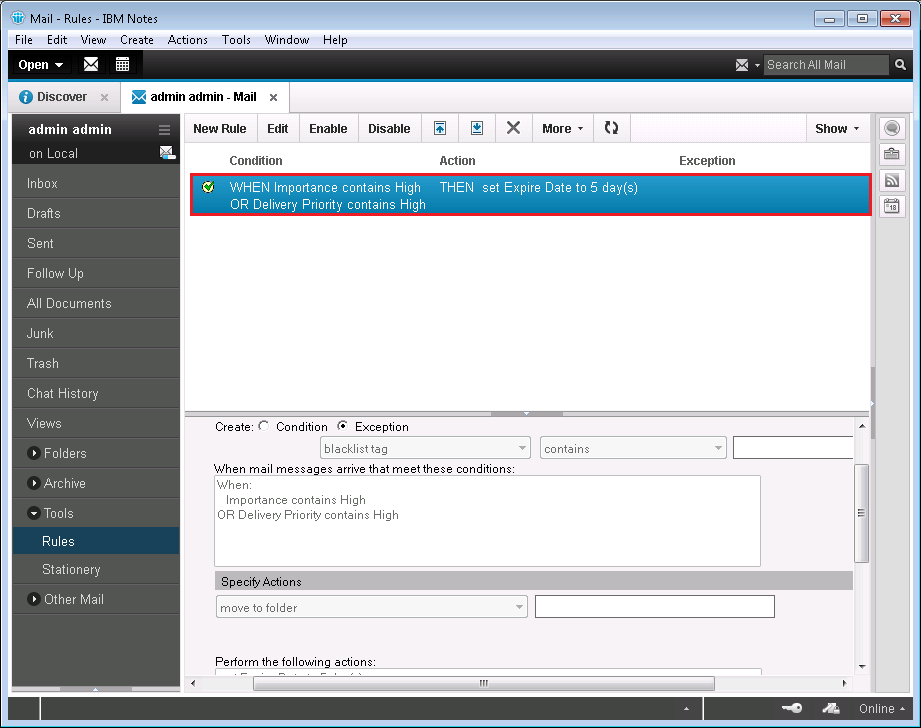
- To disable it, right-click on the rule and click on Disable. Another way is to select the email and click on Disable button from above menu bar.
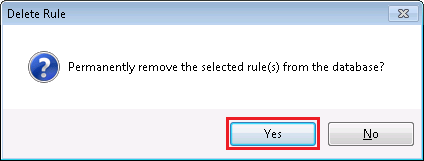
- You can also remove the Rule. Right-click on the rule and click on Delete button. It will show a dialog box. Then click on Yes button.