How to
Configure Gmail Account in Lotus Notes
There are following steps to configure Gmail account in lotus notes.
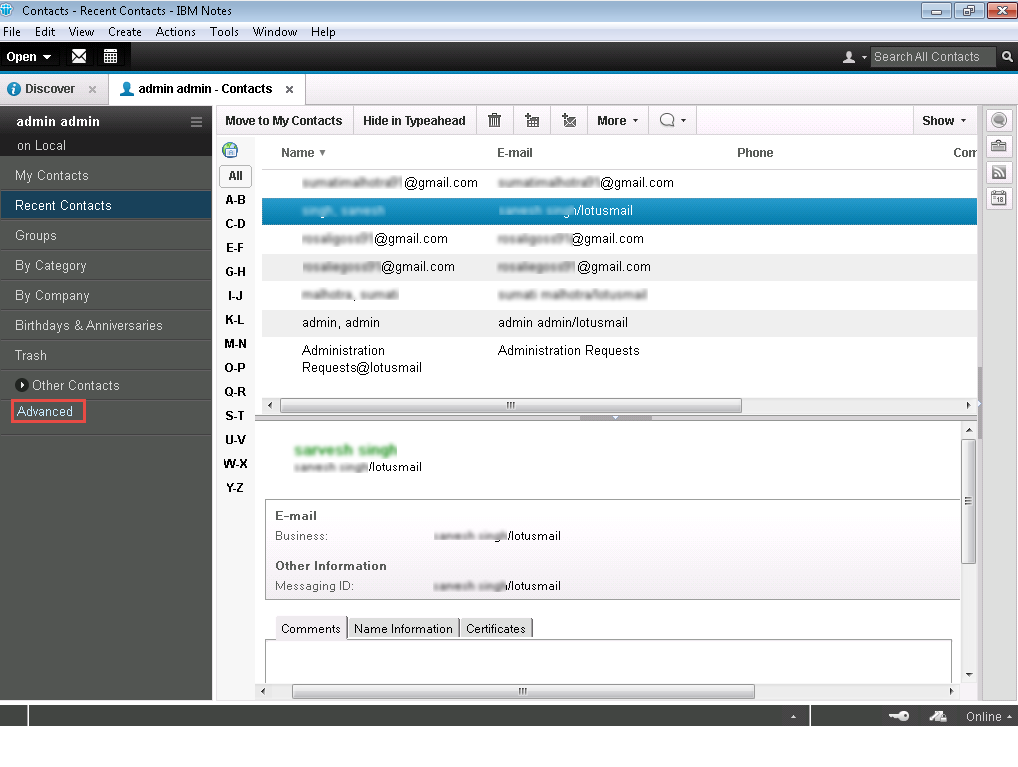
- After installing Lotus Notes, launch the application. Click on Contacts.
- Click on Advanced from the left side menu.
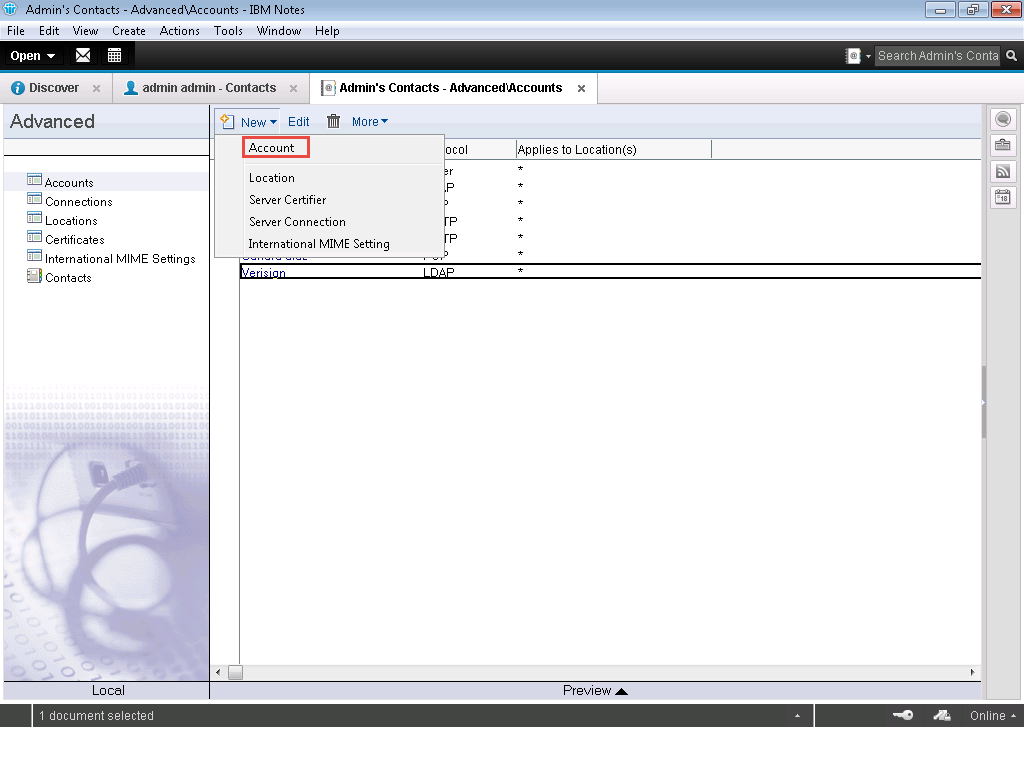
- Click on New tab and then tap on Account.
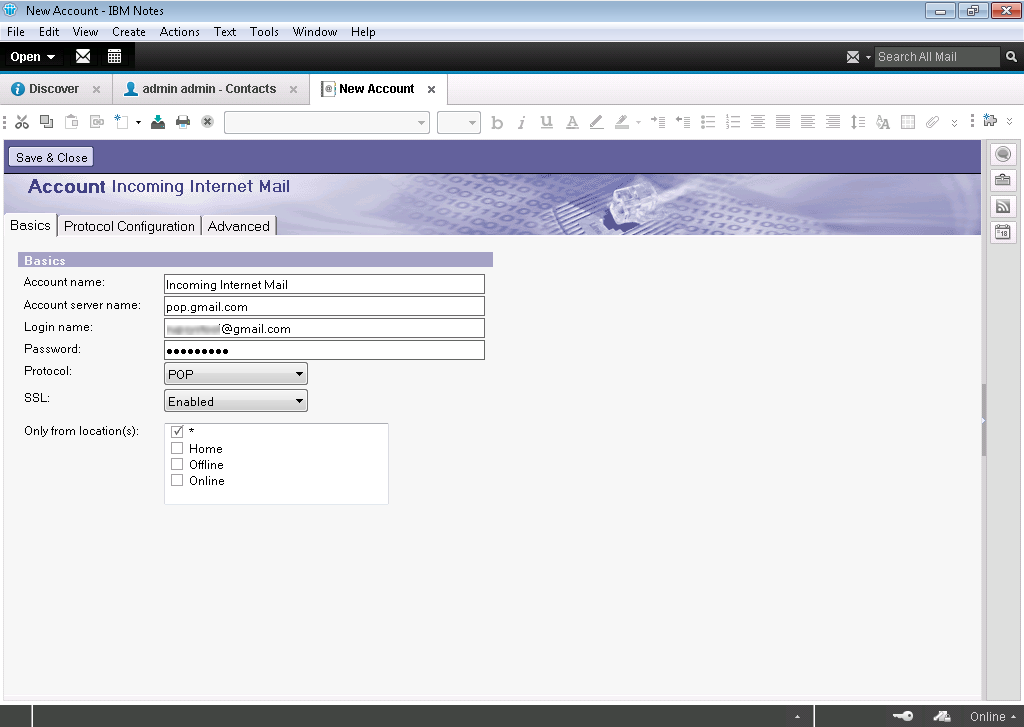
- A window for Incoming Internet Mail will open with three tabs: Basics, Protocol Configuration and Advanced.
- In the Basics tab, fill the following:
- Account Name: Incoming Internet mail (By Default)
- Account Server: pop.gmail.com
- Login Name: User’s Gmail Account address (with @gmail.com)
- Password: User’s account password
- Protocol: POP
- SSL: Make it enable
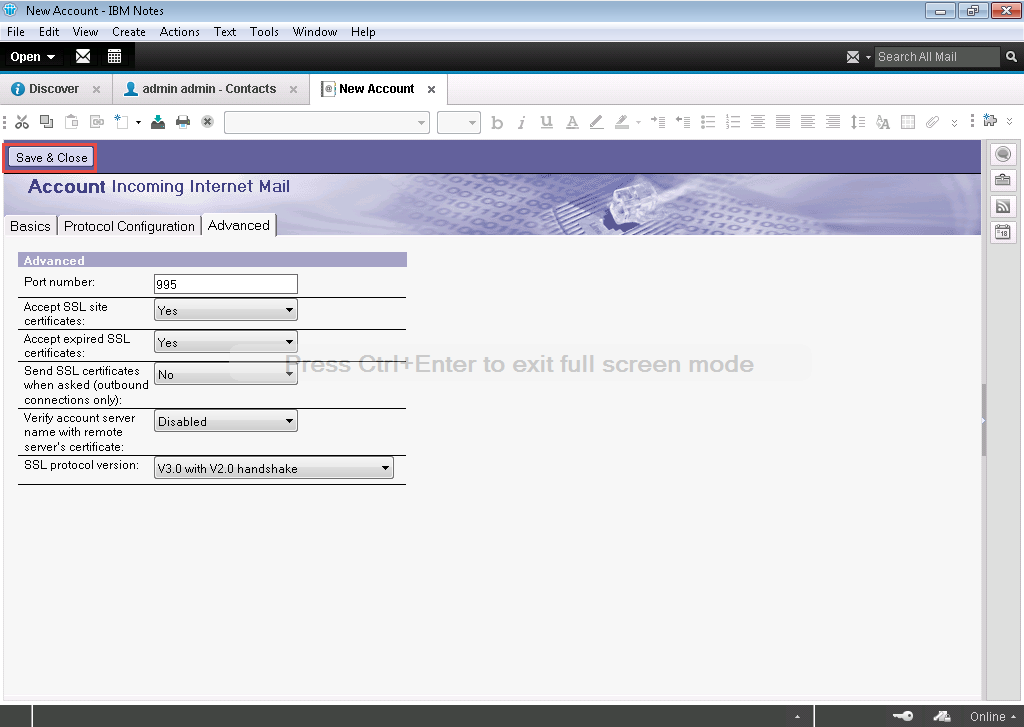
- In Protocol Configuration tab, there is no need to change anything. Now open Advanced tab and fill the details:
- Port Number: 995
- Accept SSL Site Certificated: Yes
- Accept Expired SSL Certificates: Yes
- Send SSL Certificates when asked (outbound connections only): No
- Verify Account Server Name with Remote Server’s Certifications: Disabled
- SSL Protocol Version: V3.0 with V2.0 handshak
- Save the settings and close.
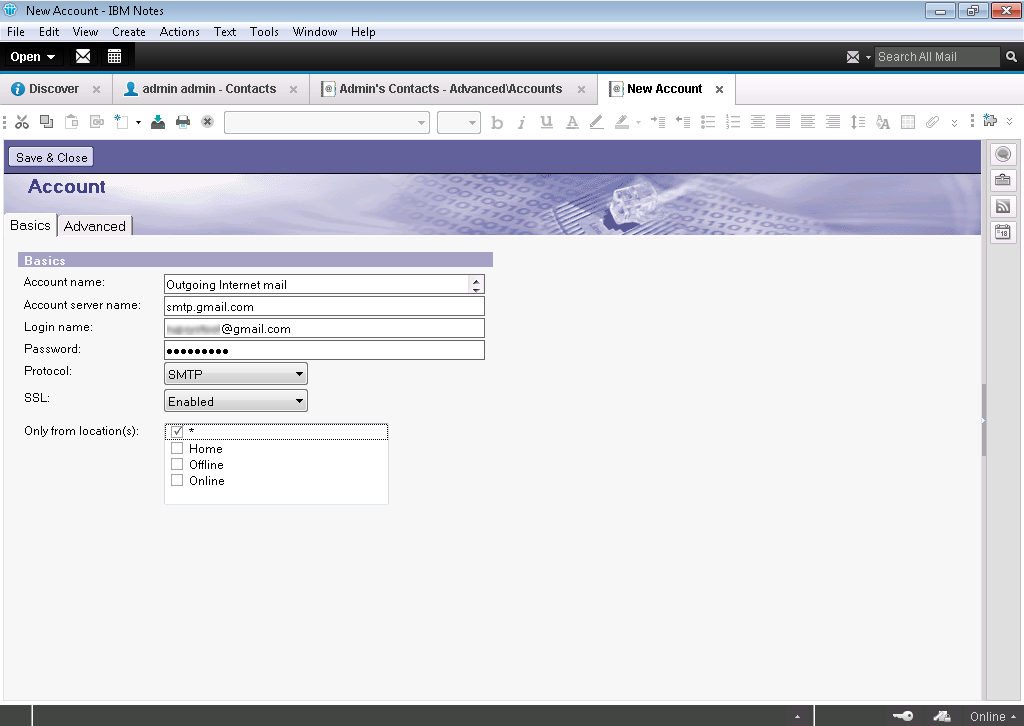
- Now in Outgoing Internet Mail, there are two tabs: Basics and Advanced.
- In Basics tab, fill the following and remaining is same as in Incoming Internet Mail:
- Account Name: Outgoing Internet mail (By Default)
- Account Server: smtp.gmail.com
- Protocol: SMTP
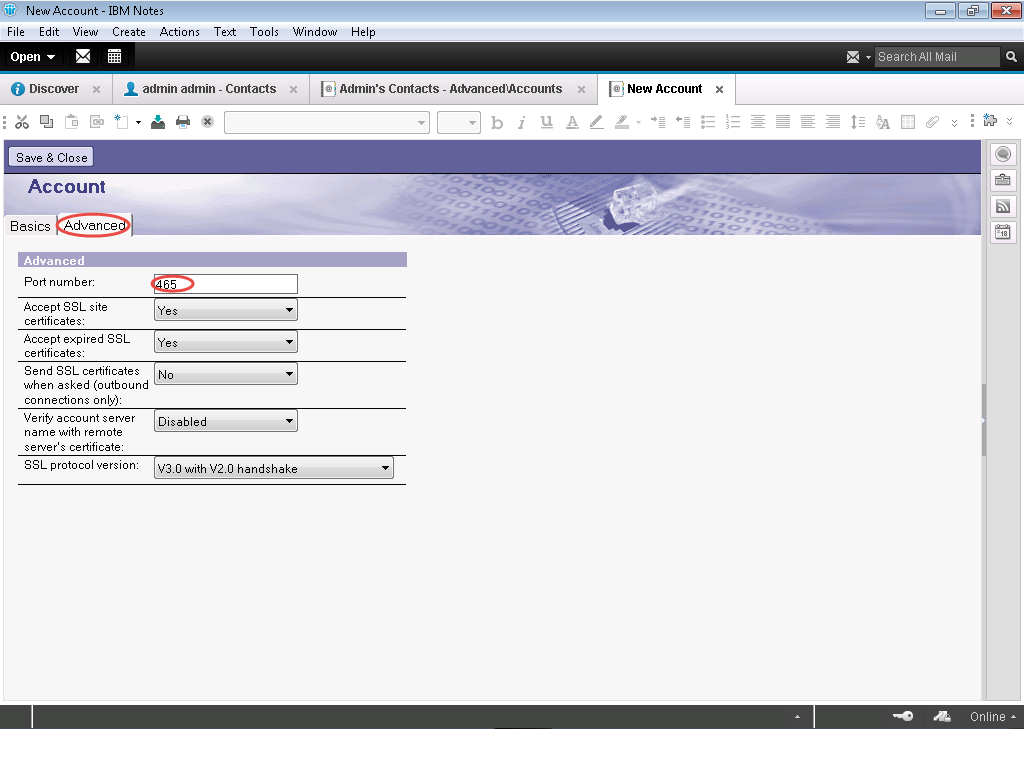
- Click on Advanced tab and change the port number to 465 and fill the rest blanks same as in Incoming Mail server.
- Save the settings and then close.
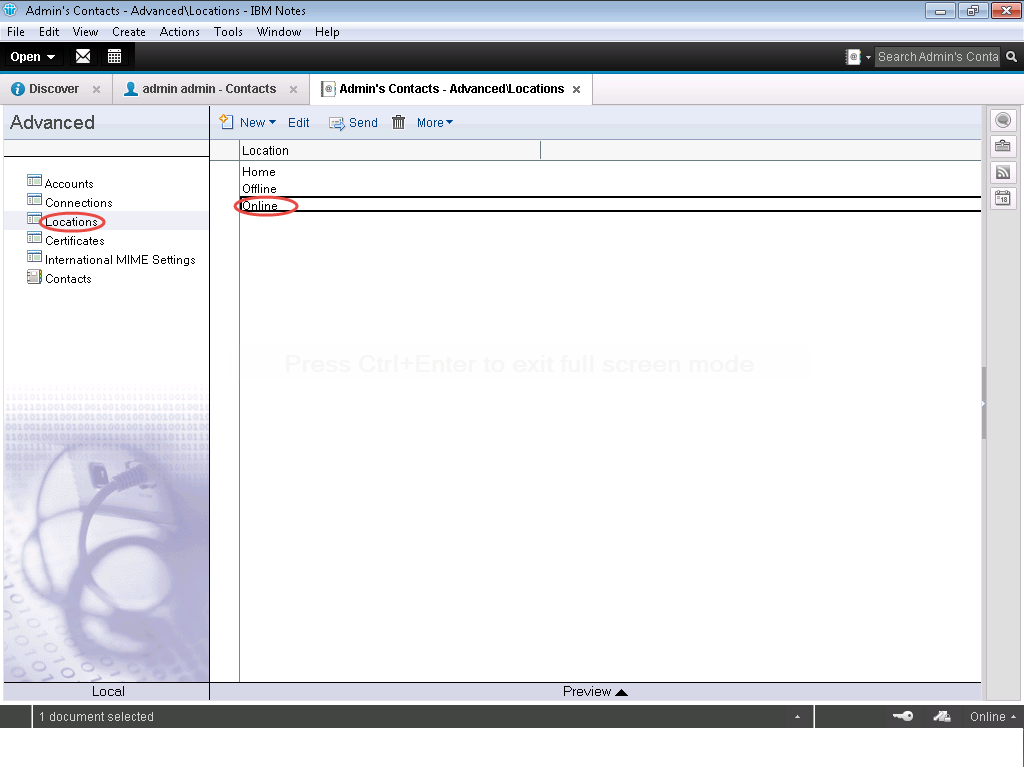
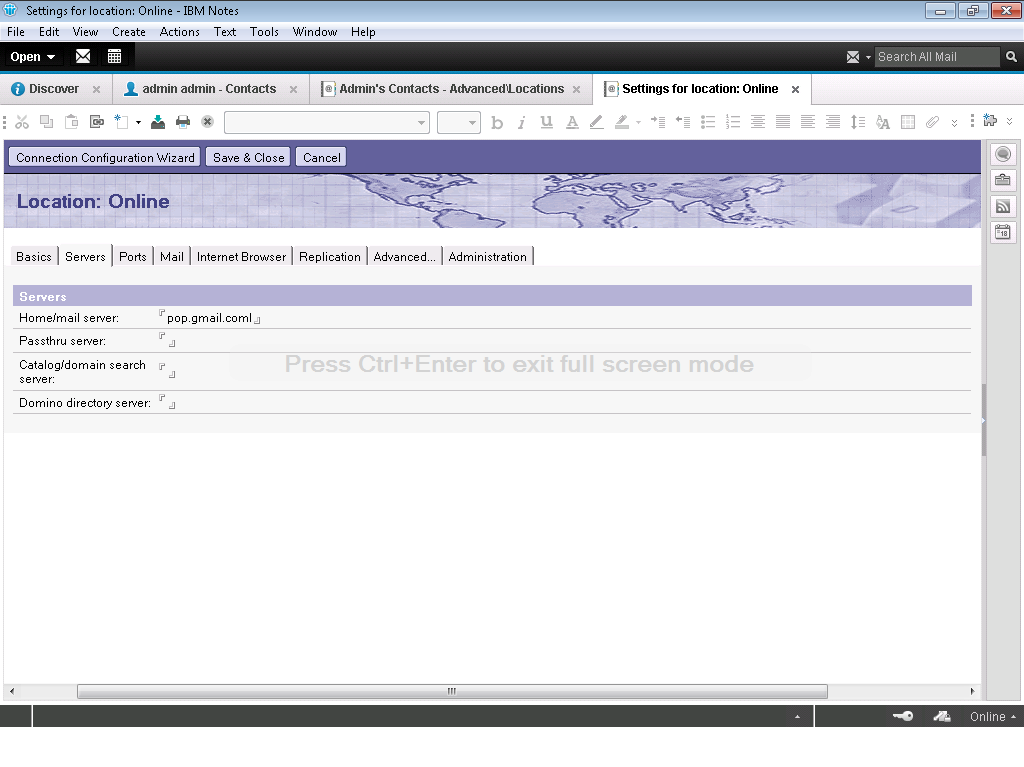
- Now select Locations and open the Online option.
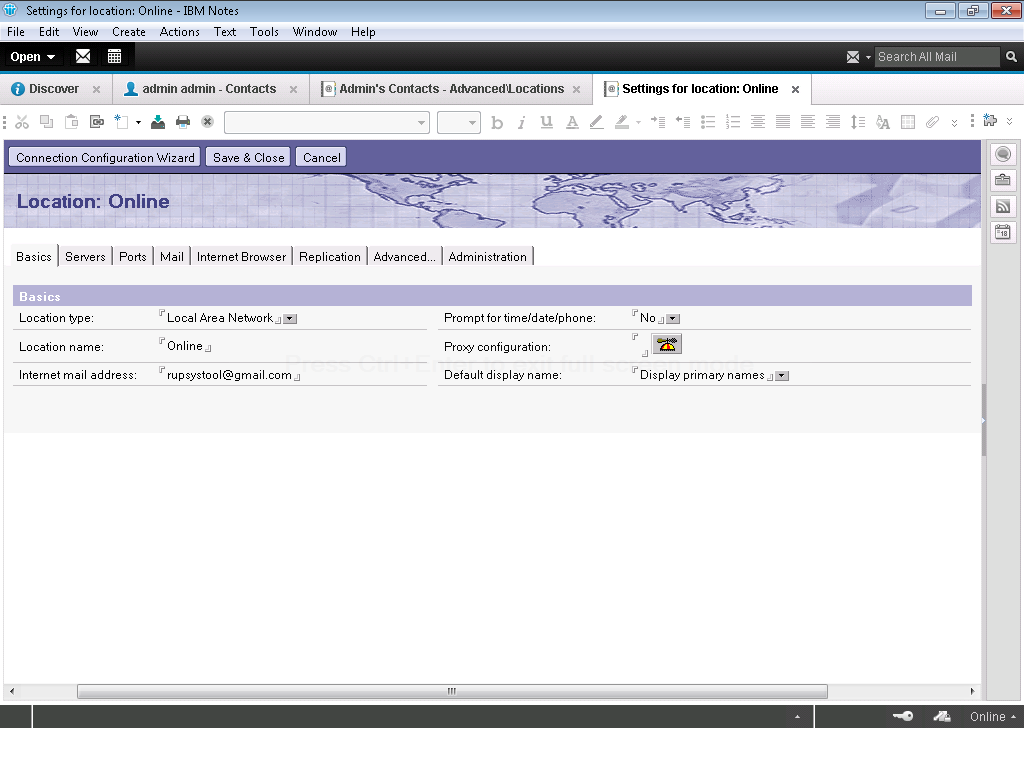
- Now a window will appear with four tabs that are Basics, Servers, Ports and Mail tab.
- In the Basics tab, fill the following:
- Location Type: Local Area Network
- Location Name: Online (By default)
- Internet Mail Address: Gmail account address
- In the Servers tab, enter pop.gmail.com in Home/Mail Server and keep the remaining as it is.
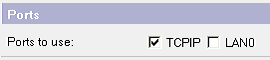
- There is no change in Ports tab. Just make sure the box of TCPIP is checked.
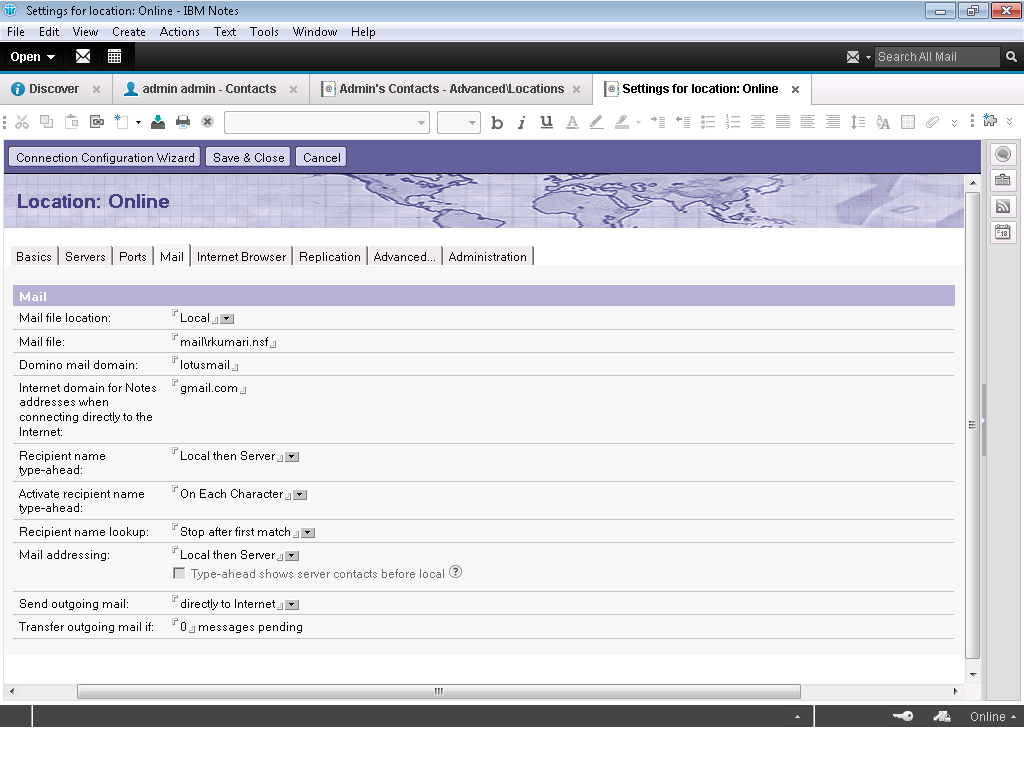
- Now in Mail tab, enter the following details and leave the remaining as it is:
- Mail File Location: Local
- Internet Domain for Notes Addresses when Connecting directly to the Internet: gmail.com
- Send Outgoing Mail: Directly to the Internet
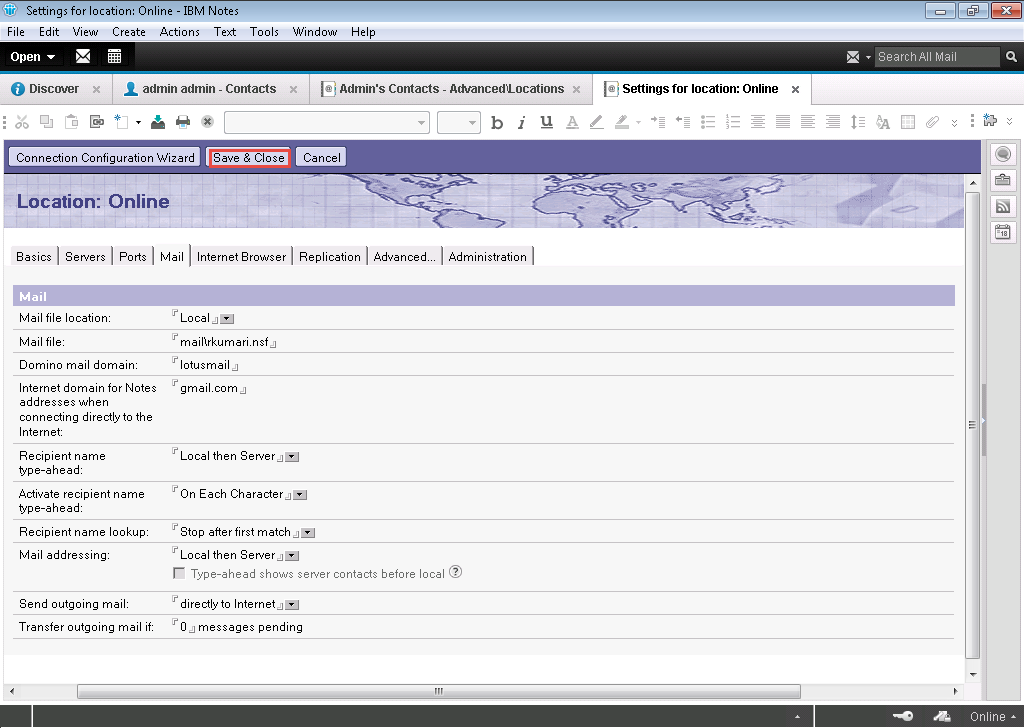
- Now Save all the settings and close the dialog box.
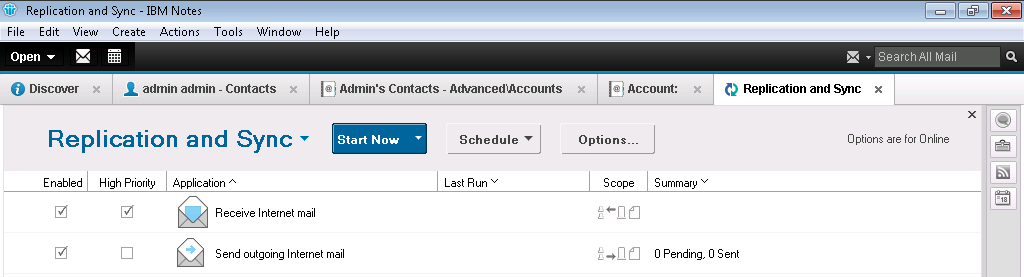
- Now open the Replication page and make sure that all the boxes in the below image are marked.
- Now restart the Notes email client and you will see that your Gmail account is synced in Lotus Notes.